Educational Resources
Axelgaard is proud to offer free educational resources via our video series and our interactive visual guide. The guide is viewable both on desktop and mobile and all of our videos can be watched online or downloaded for offline viewing.
Interactive NMES Electrode Placement Guide

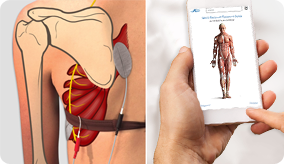
In collaboration with Dr. Lucinda Baker of the University of Southern California’s Division of Biokinesiology and Physical Therapy, Axelgaard’s Electrode Placement Guide is a free, interactive resource for electrode placement. This informative guide features 41 instructional videos, illustration-enhanced electrode placement photos, and relevant information on muscular and neurological anatomy.
OT Course on Electrical Stimulation

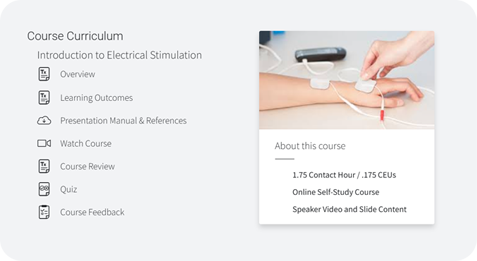
In collaboration with Salia Rehab, this course guides learners through the general considerations and specific applications and treatment techniques for electrotherapeutic interventions. Learners will review best practices for safe, effective, and efficient application of electrical stimulation modality treatments to a variety of clinical presentations. In addition, concepts associated with use of electrical stimulation in occupational performance will also be reviewed.
The online class is intended for medical professionals (e.g. OT/OTA, PT/PTA, Physicians, etc.) directly related to the rehabilitation of a patient or client.
NMES Electrode Placement Videos
We are pleased to sponsor the Electrode Placement and Functional Movement series presented by Dr. Lucinda Baker, Associate Professor at USC Division of Biokinesiology and Physical Therapy. These videos provide comprehensive information on the preparation and use of electrodes for effective neurostimulation treatment. All electrodes used in the video presentations are PALS® neurostimulation electrodes.
Individual chapters and the full DVD ISO file are available for free download alongside each video for offline viewing.
Chapter 27
Download Chapter
Download full DVD ISO
HZ: 35
Waveform: Asymmetric
Stimulation Grade: 3-/5
Electrode placement for hip extension. The iliac crest is marked with a line, and the greater trochantor is marked with the X. Electrodes are placed over the proximal and distal components of the gluteus maximus, with at least one inch between these relatively large electrodes.
If treatment is going to be done in the upright position, electrode placement should be upright. During stimulation you see a three minus out of five contraction of the hip extensors in this un-weighted position.